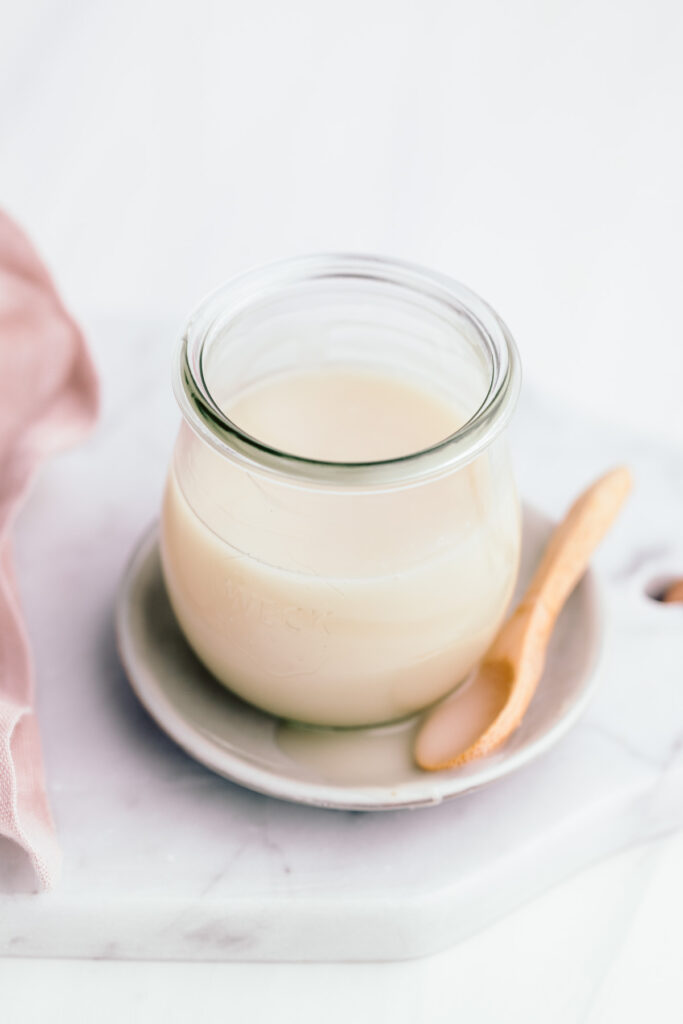
This easy vegan condensed milk is made with only 2 ingredients. A sweet, easy, dairy-free option to add to a variety of warm drinks, iced drinks, baked goods, or on top of your favorite desserts.
Disclosure for affiliate links which are underlined and bold:
Read my full disclosure here.
This beautiful thick sweetened condensed milk requires 2 ingredients and about 30 minutes.
When a delicious dessert or holiday recipe calls for sweetened condensed milk, you can now make your own delicious vegan condensed milk at home with coconut milk.
This sweet vegan condensed milk recipe will be your new favorite addition to all your cozy drinks, desserts, baked recipes, ice cream, and so much more.
WHAT IS CONDENSED MILK MADE OF?
Regular (non-vegan) condensed milk is cow’s milk with the water removed. About 60% of the water is removed. Sugar is often added to the milk to make sweetened condensed milk. Most people will refer to sweetened condensed milk when they say condensed milk.
Condensed milk is thick and sweet milk. You will probably find the canned version in the store, which is used in various dessert recipes worldwide.
WHAT IS EVAPORATED MILK VS CONDENSED MILK?
Quite often, you will hear the terms evaporated milk and condensed milk. Some recipes call for both kinds of milk. The main difference is that evaporated milk is unsweetened, and condensed milk is sweetened. Evaporated milk is also fresh milk, with about 60% of the water removed, but the preservation process is a bit more complicated.
WHAT IS CONDENSED MILK USED FOR?
While condensed milk is mostly used for dessert recipes, the possibilities are endless. Iced drinks with condensed milk are a perfect match, not just iced coffee but also iced tea. Many recipes call for condensed milk, such as cookies, cakes, pies, brownies, and blondies. Condensed milk is also used for candies, fudge recipes, (ice cream) toppings, puddings, and frostings.
You can use this vegan condensed milk recipe whenever a recipe calls for a sweet, milky, thick substance.
INGREDIENTS
You can find condensed milk in a can or a tube. That is if you can find it. In some countries, it can be hard to come by. Vegan condensed milk is relatively easy to find online, but I have never seen it in a store. But why use the store-bought version when it’s easy to make it yourself?
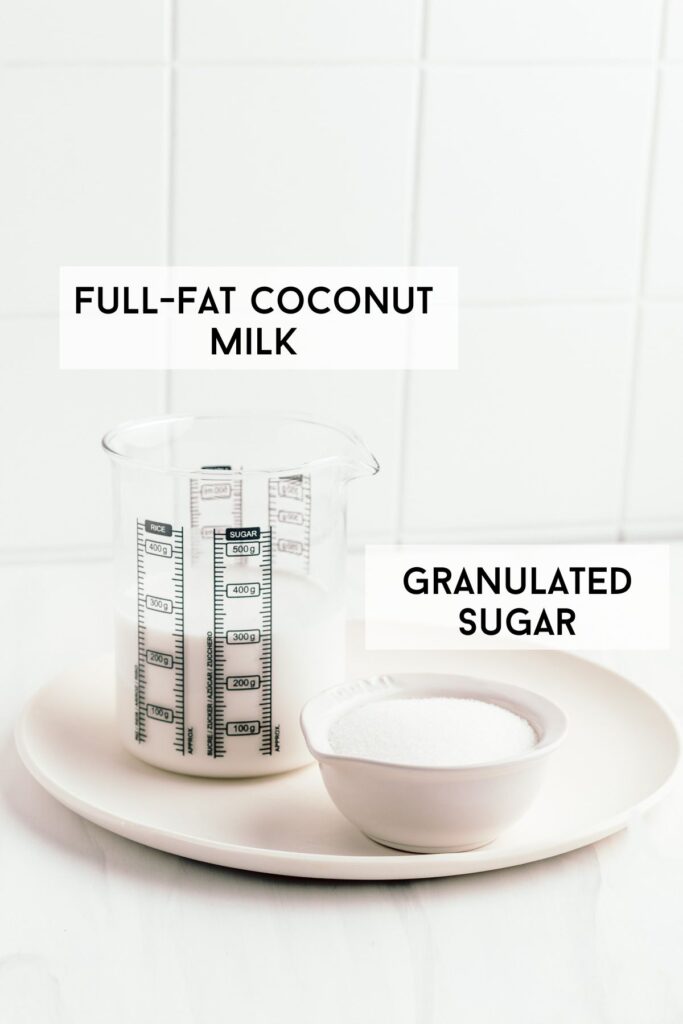
All you need are 2 basic ingredients, a heavy pan, a spatula, and a bit of patience. The ingredients are simple, and you may already have them in your kitchen cupboard.

Coconut milk
Full-fat coconut milk in a can is the milk + fat in this recipe, replacing regular cow’s milk. The higher the fat content is in the coconut milk, the creamier and thicker your condensed milk will be. So, avoid the light coconut milk for this recipe.
Full-fat coconut milk contains between 9%-15% fat. Coconut milk with less than 9% fat is considered lite coconut milk.
Sugar
Granulated sugar is the ingredient to sweeten the milk. Simple vegan white granulated sugar is best for this recipe. Any other sugar, such as coconut or brown sugar, will also work, but the end product will be slightly darker.
HOW TO MAKE VEGAN CONDENSED MILK (STEP-BY-STEP WITH PHOTOS)
This recipe is simple and fun to make. It’s also foolproof, which is always a bonus. The recipe takes about 30-40 minutes to make, and then the condensed milk will need to cool down.
Step 1.
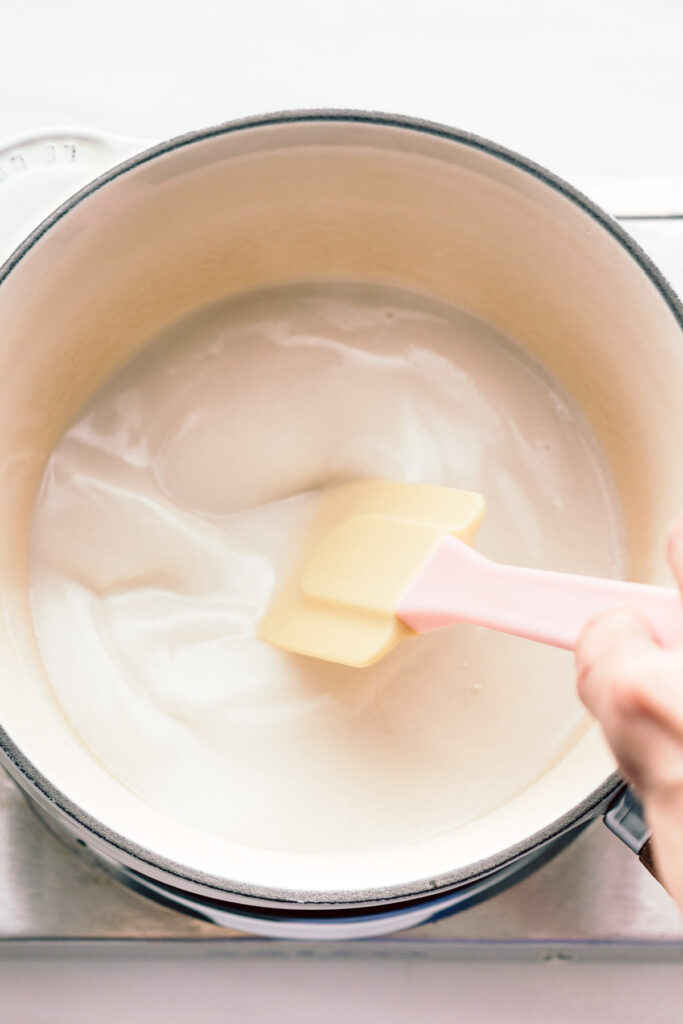
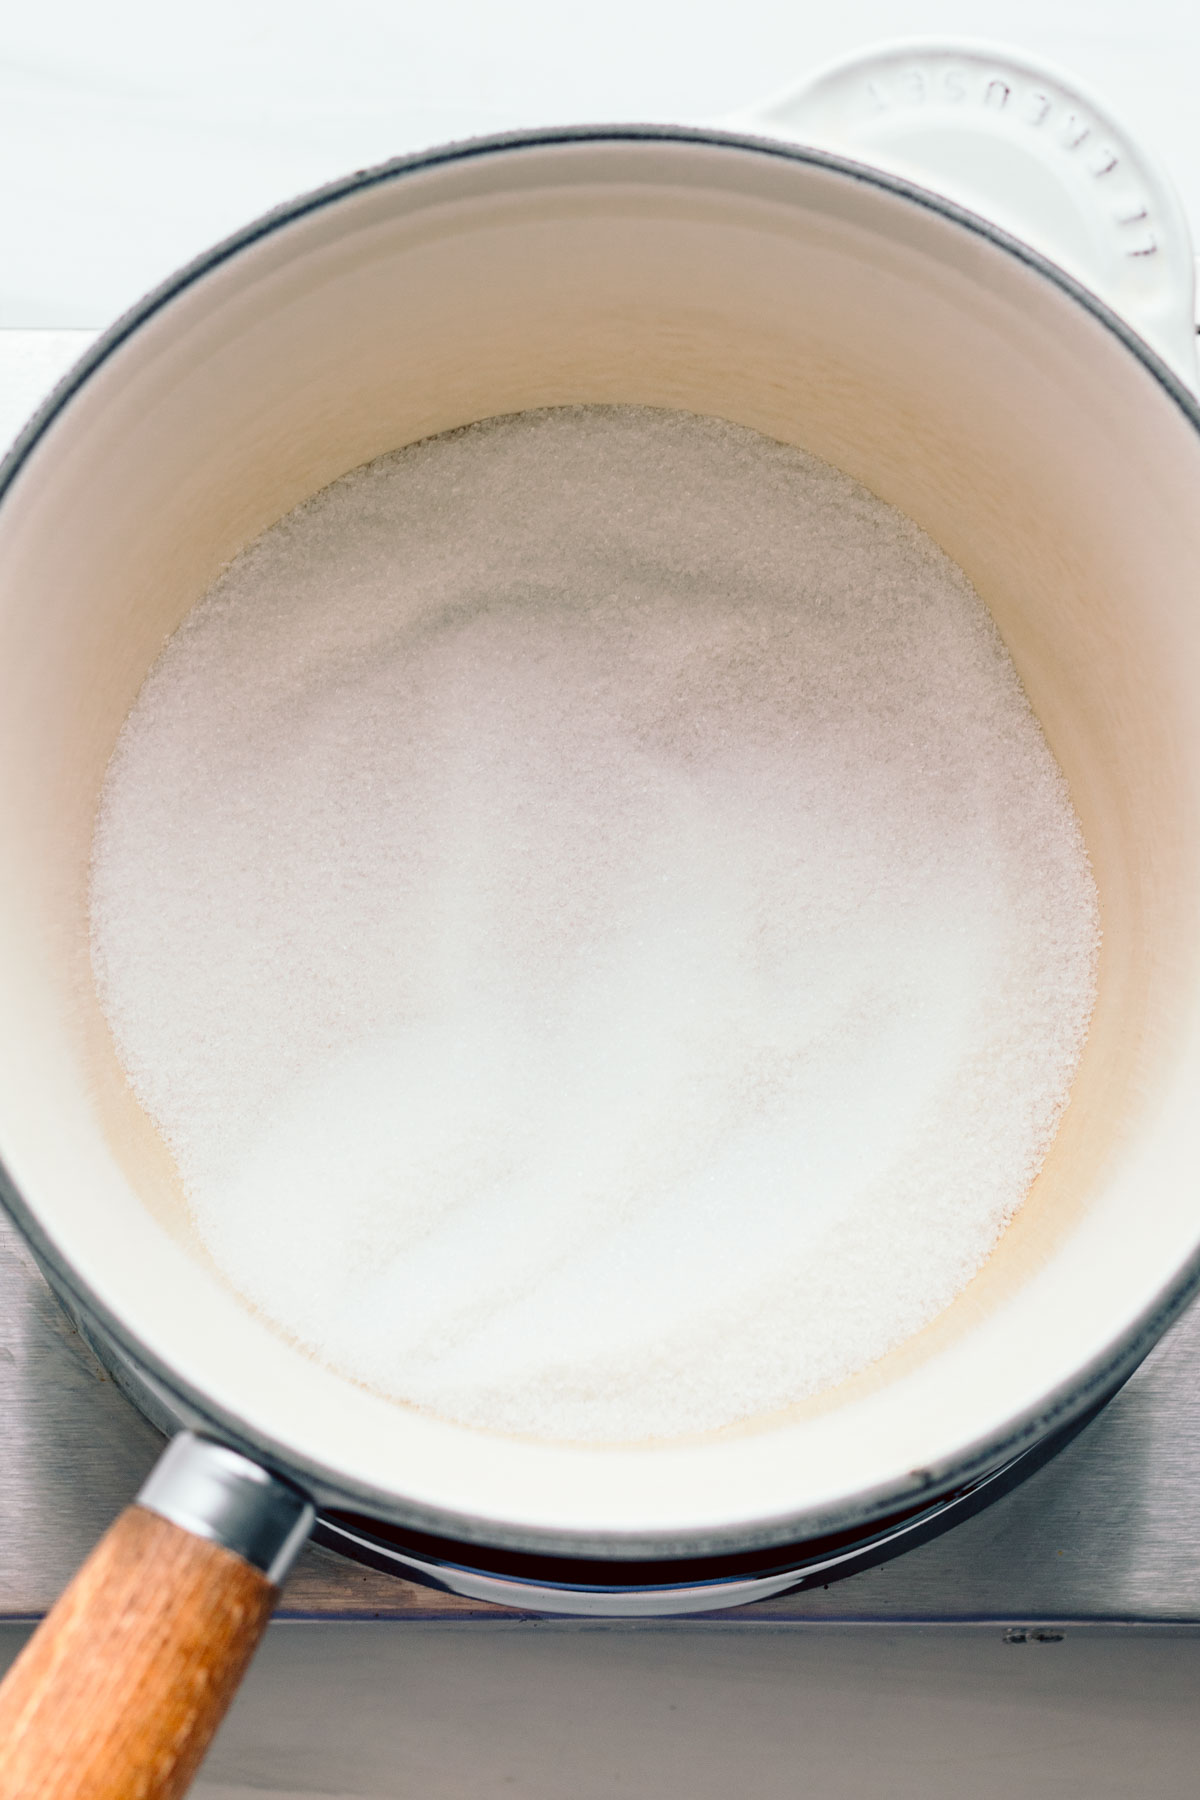
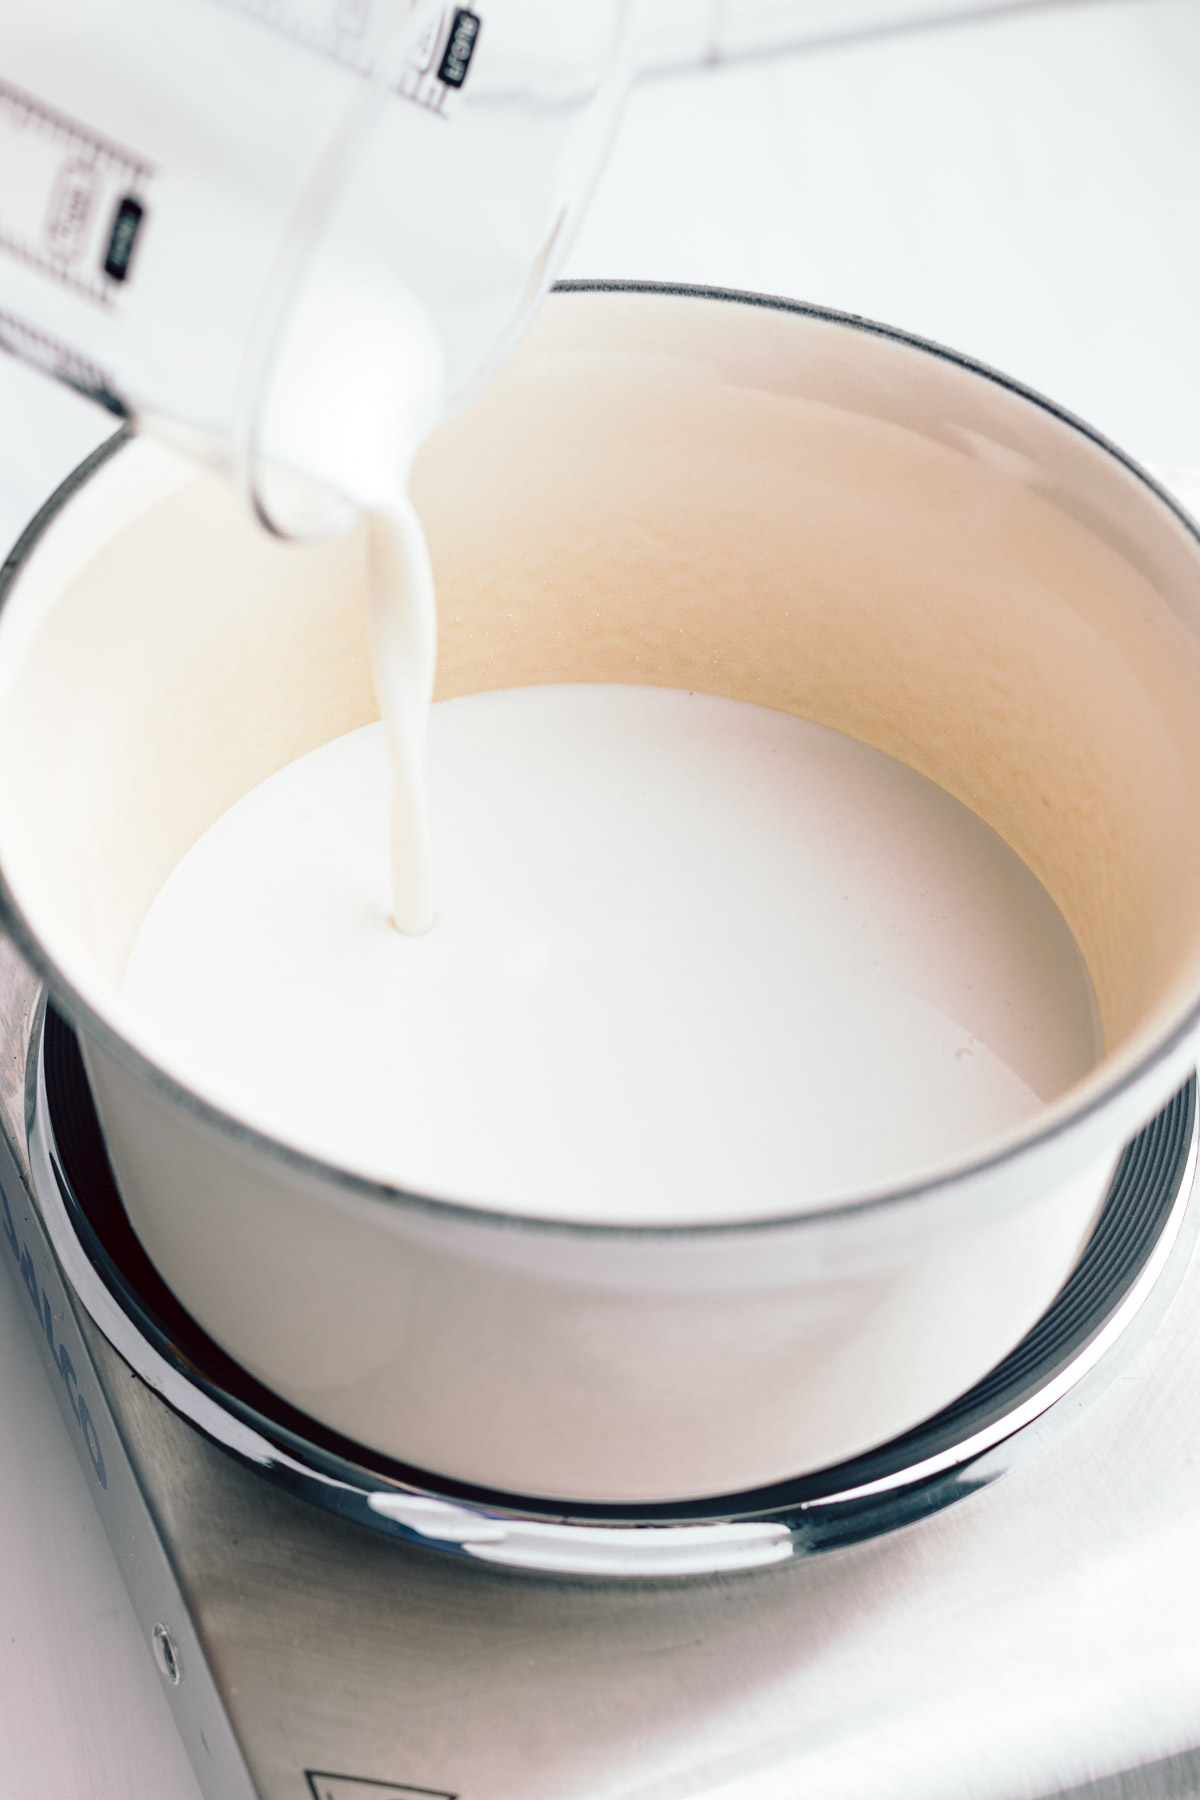
Add the sugar and coconut milk to the pan over medium heat. Let it come to a simmer, then reduce the heat to low.
Step 2.
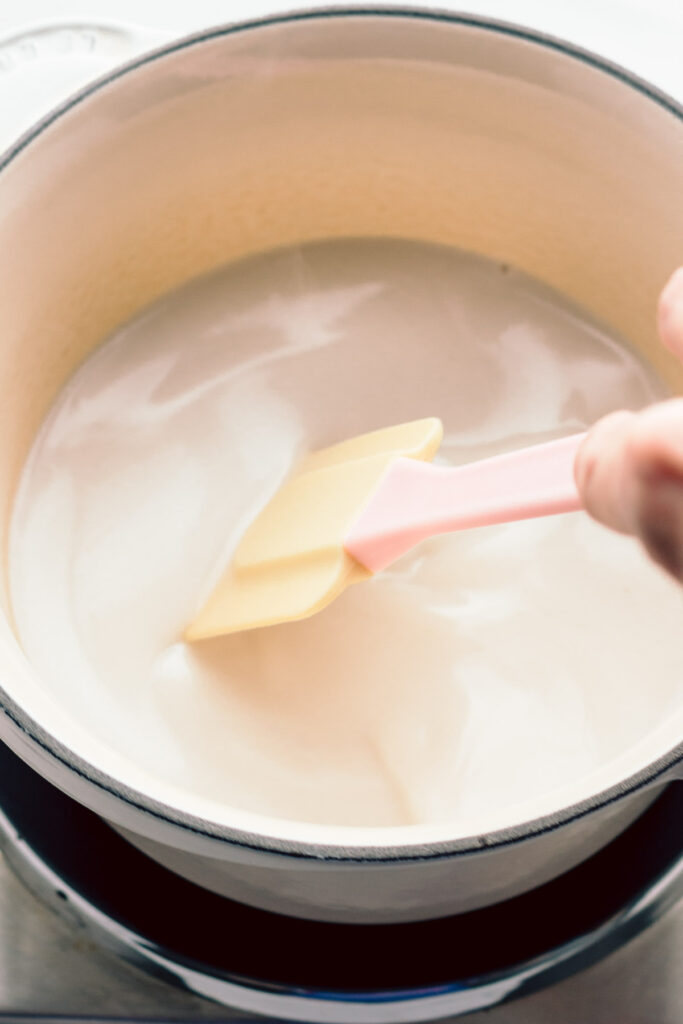
Stir occasionally on low heat, so the sugar doesn’t burn. This will take about 30 minutes.
Step 3.
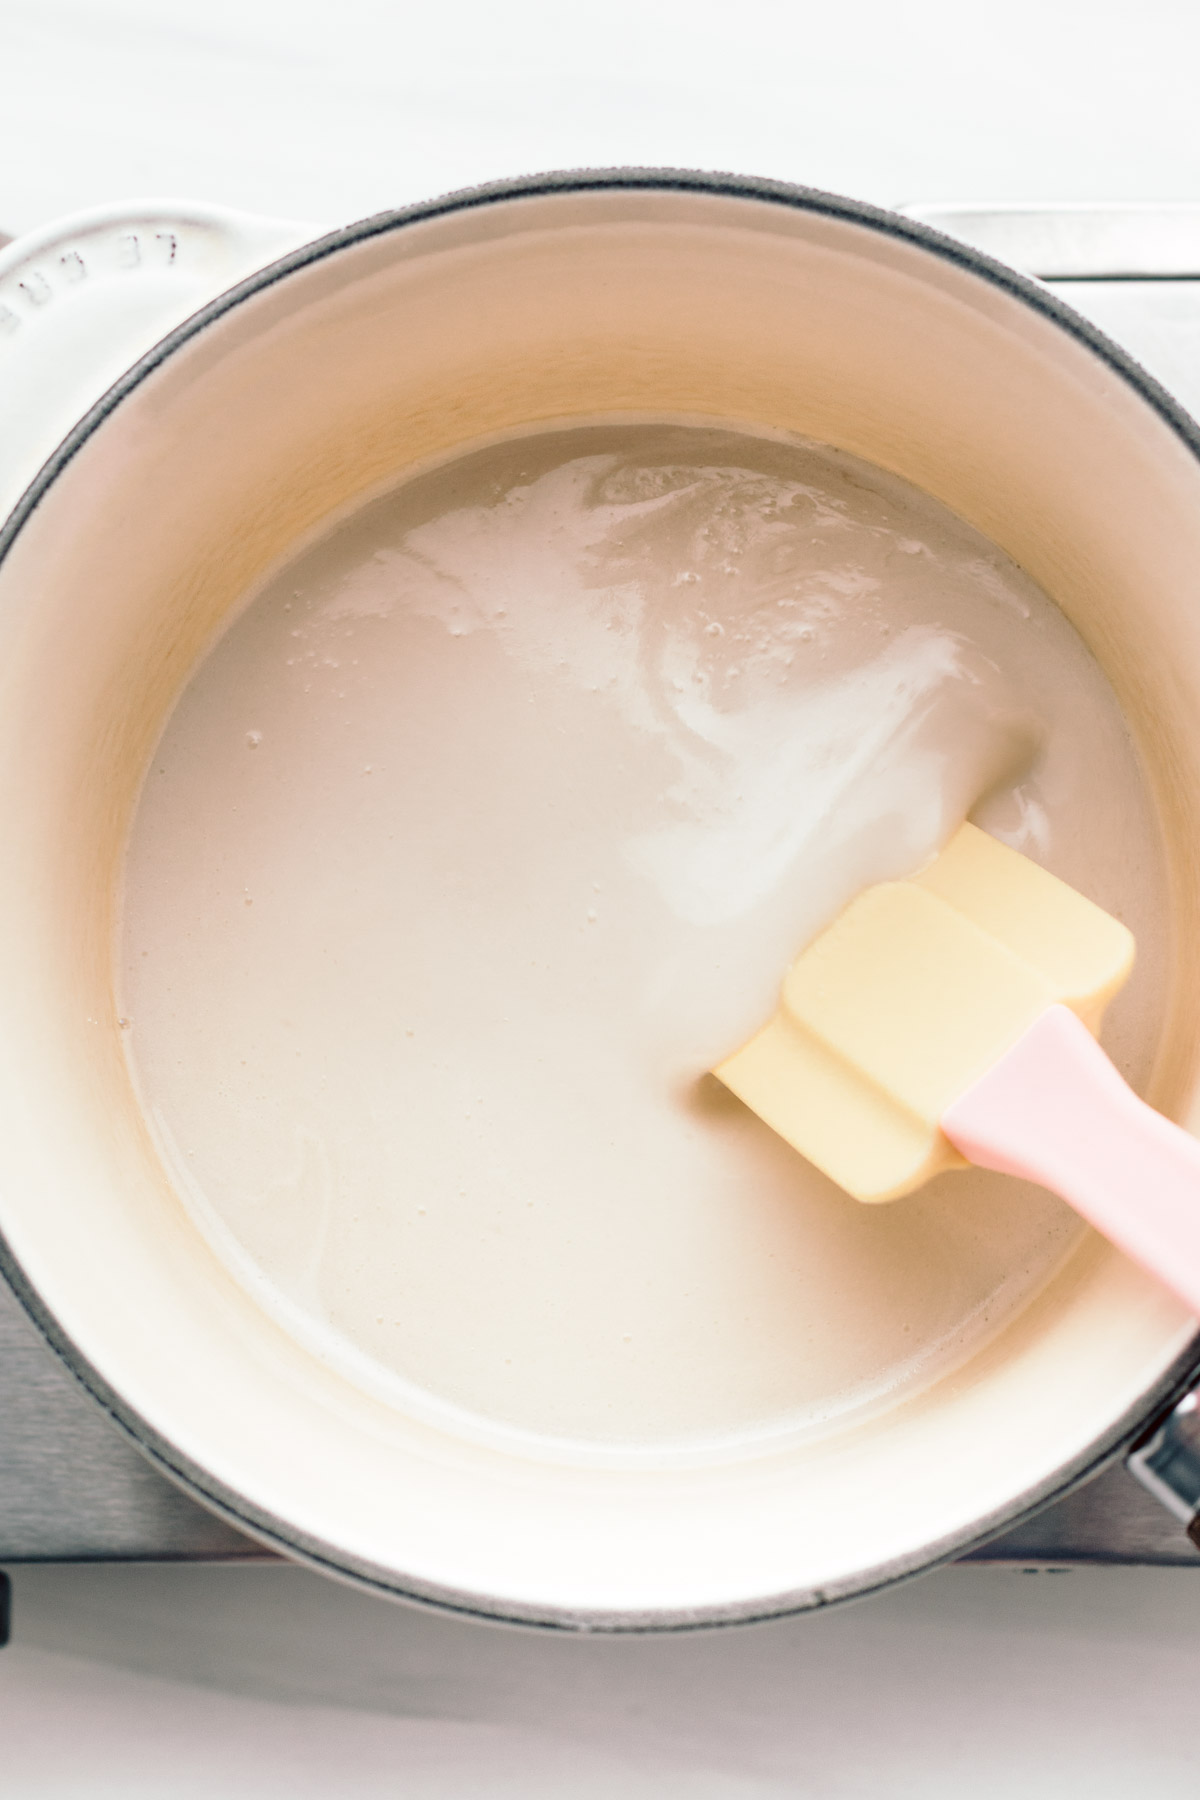
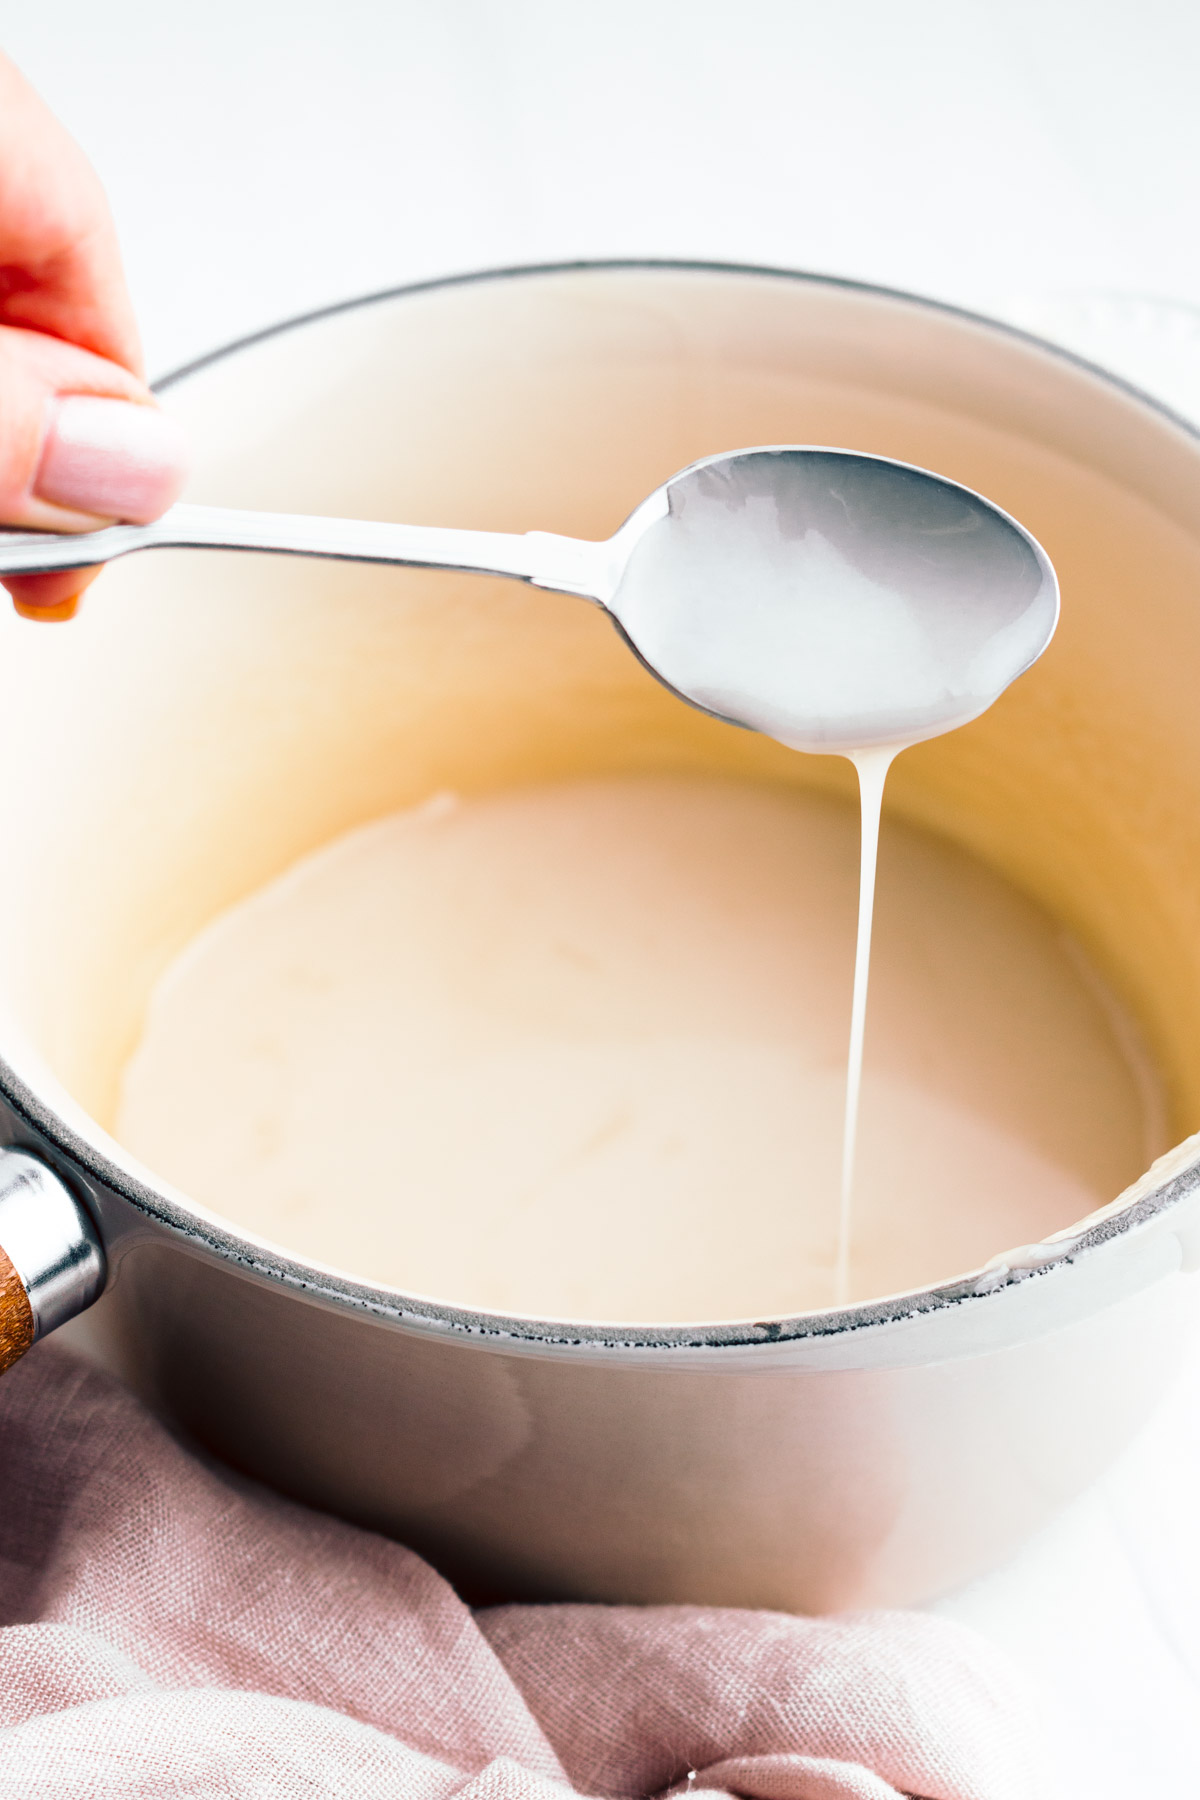
When the milk is reduced by about half, do the spatula test (more on that below). Remove the pan from the heat and let cool completely.
Step 4.
Place the condensed milk in the fridge for at least a few hours so it can cool and thicken further.
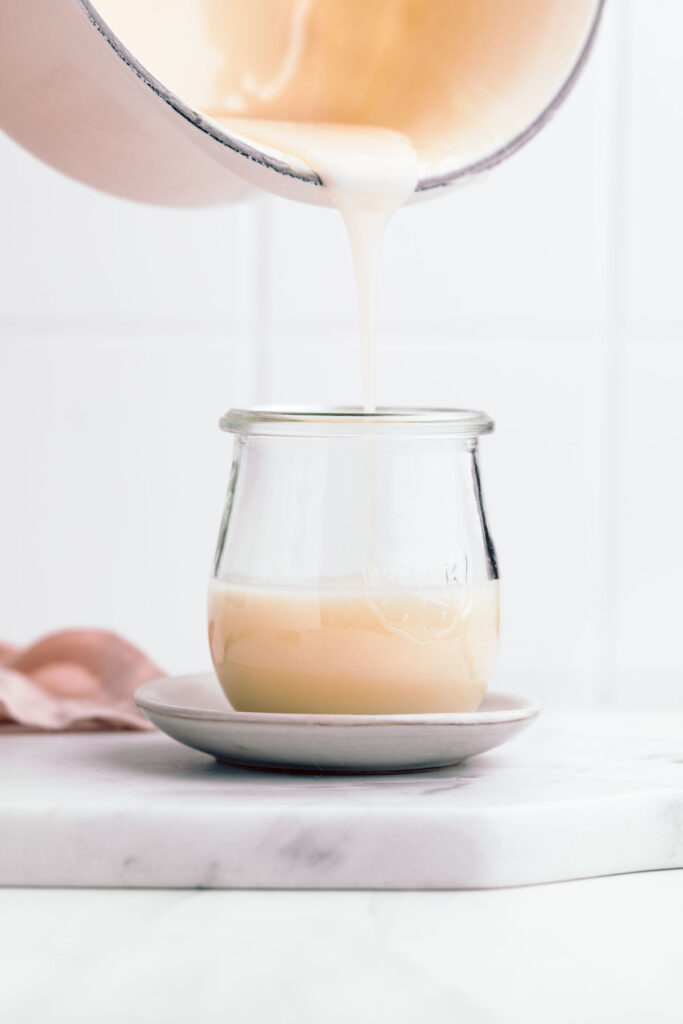
TIPS TO GET THAT PERFECT THICK CONDENSED MILK
This recipe is simple, but there are a few tips I’d like to share with you to create the perfect vegan condensed milk.
I recommend using a good-quality pan with a heavy bottom for this recipe to ensure the heat is evenly distributed.
Removing the pan from the heat before the 30-minute mark is not a good idea. Steady and slow is the key to getting that thick texture.
Little clumps may form when the condensed milk is (almost) ready. This is normal. You can remove any clumps if you wish.
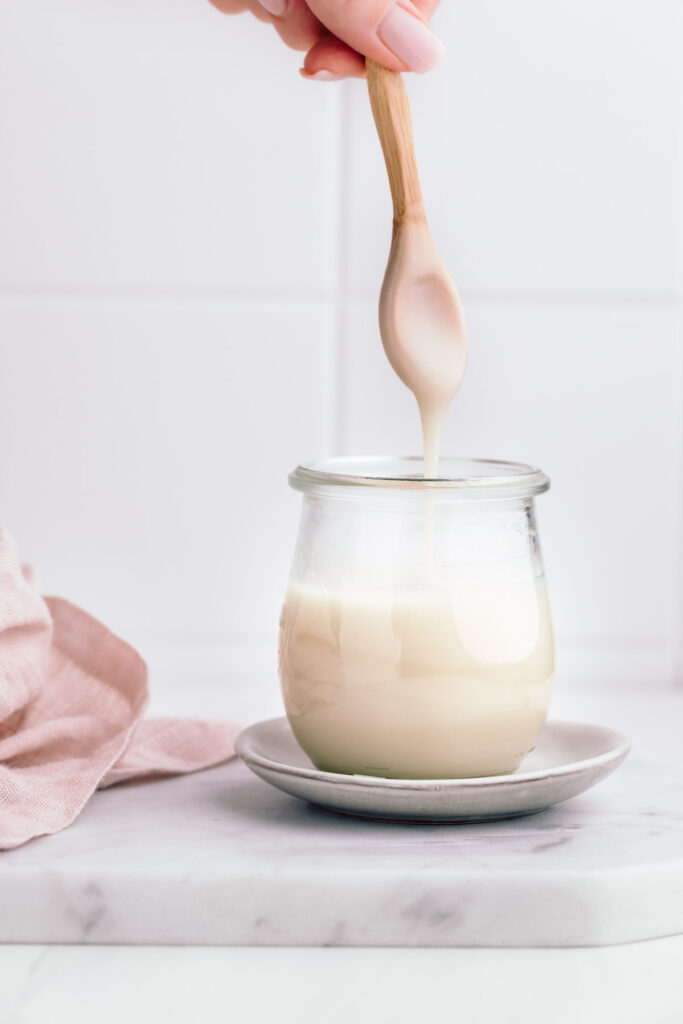
HOW TO TELL YOUR CONDENSED MILK IS READY
There are three ways to tell if your condensed milk is ready. Usually, it should take about 30 minutes on low-medium heat to get that perfectly sticky texture. But sometimes, it can take a bit longer.
The vegan condensed milk is ready when:
- The coconut milk and sugar mixture is reduced by about half.
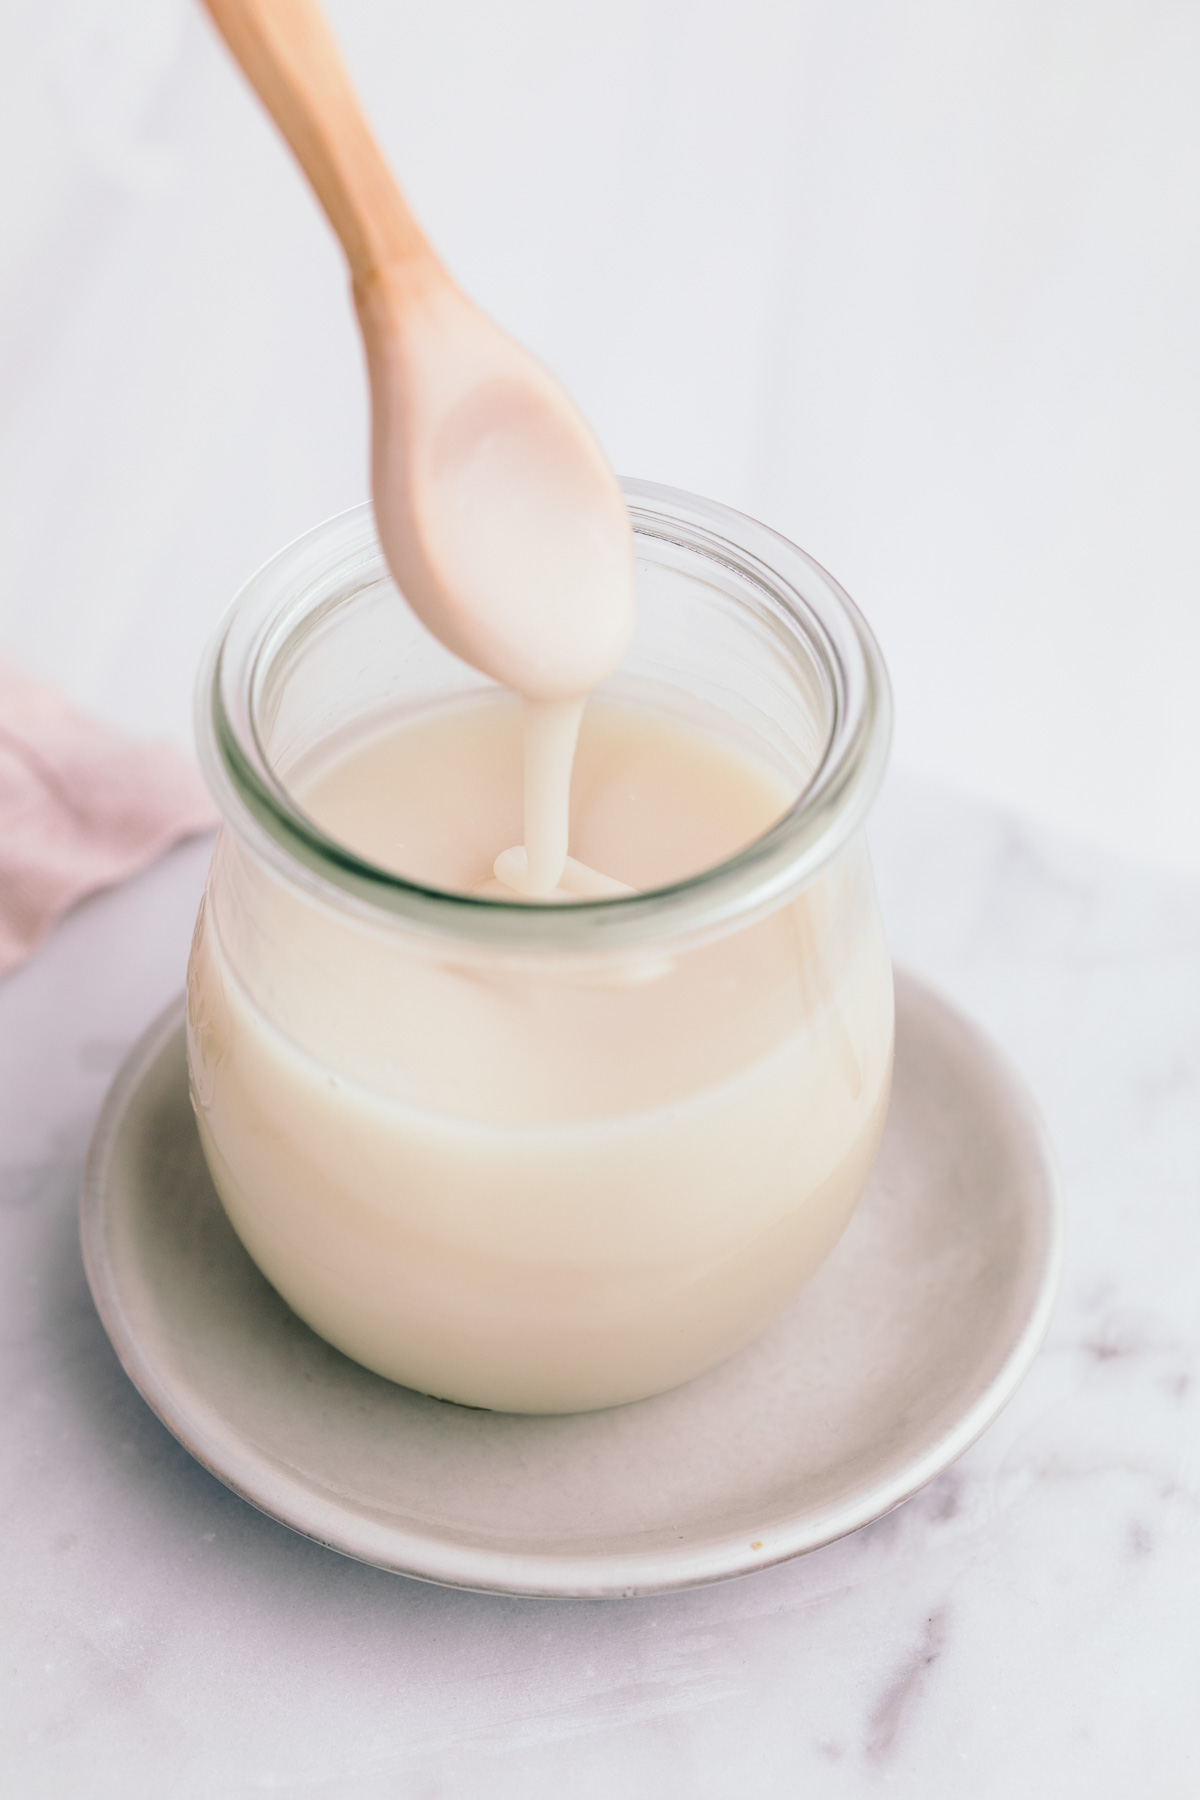
- It passed the ‘’spatula test’’. You can do this by dipping a spatula (or spoon) in the milk and pouring the mixture back into the pan to see the consistency. The texture should be thick and smooth.
- You let it cool down and store it in the fridge. This recipe is not ready when you remove it from the stove. Keeping it a few hours in the fridge is essential to get the right consistency, just like traditional sweetened condensed milk.
- The longer the milk and sugar will simmer, the darker the condensed milk will be. Eventually (after about an hour on low heat), the condensed milk becomes darker, thicker, and turns into caramel sauce. To avoid that keep an eye on the color, consistency, and volume.
If you are also going to make your own condensed milk at home? Let me know by giving it a star rating. Or tag your creation on Instagram @thegreencreator.

Vegan Condensed Milk
- Cook Time: 30 min
- Total Time: 30 minutes
- Yield: about ¾ cup / 175 ml 1x
- Method: stovetop
- Cuisine: French
- Diet: Vegan
Description
This easy vegan condensed milk is made with only 2 ingredients. A sweet, easy, dairy-free option to add to a variety of warm drinks, iced drinks, baked goods, or on top of your favorite desserts.
Ingredients
- 1 can (400 ml/ 13.5 oz) full-fat coconut milk
- 1/2 cup (100 grams) granulated sugar
Instructions
To a heavy pot over medium heat add the sugar and the coconut milk.
Bring to a simmer and reduce heat to low. Stir occasionally and keep an eye on the pot, so the sugar doesn’t burn.
Once the heat is reduced to low, you can stir it every 5 minutes for about 30-40 minutes until the liquid is reduced by nearly half.
Do the spatula or spoon test (see above) and remove from heat.
Let it cool completely, transfer it to a glass jar and place it in the fridge to let it thicken for at least a few hours.
Keep in the fridge covered for about 5-7 days.
Notes
- Use only full-fat coconut milk for this recipe.
- You can keep it in the fridge covered for about 5 days.
- If foam or clumps form, you can remove that if you wish.
Please read the post above for more tips and photos.
All content is copyright protected. Please do not use my images or recipes without prior written permission. Thank you!
