I have written articles on food photography before. So in case you would like to read my other articles with food photography tips you can do so here. In this article I’m sharing with you 5 tips to seriously improve your food photography. Sometimes the smallest changes, end up being a big change.
When I’m asked to share my food photography tips, it is hard to mention just one aspect. There are however a few tips that have changed my food photography for the better. I learned some tips from others, but I also discovered a lot along the way.
Here are my five tips to seriously improve your food photography.
1. the thing with food props
A good understanding of the use of food props and a good composition that ”fits” can immediately improve your food photography.
It is important to know that a good photo consist of layers to make it interesting and to create texture. This can be achieved by food props and good composition. However, this doesn’t mean that the more food props you use, the better. Or the more colorful the food props, the better.
Food props should support the hero (main object) in the photo and not take away the attention from the hero. The size, color and the amount of food props can unfortunately take away the focus on the hero.
It is therefore important to intentionally choose your food props, in size and color. Build it around the main object and try to not buy food props in all colors and patterns of the rainbow. What is beautiful to you in real life, will often look very different in a photo. So unless color as a food prop is really a conscious choice, keep it simple.

Reading the above and wanting to create a minimal light and bright photo, it can be easy to think that one bowl or one plate with food will do. This is however the other opposite of creating a photo with distracting food props. There is such a thing as ”no food styling at all”. This can result in a photo documentation, with no story for the viewer. The risk is that the photo is just too boring. Light and props create a story in a photo.
To create a minimalistic photo it is still advisable to use food props, even if it is the food itself. It may take more time to create a good balance between minimalism and creating a story, so I hope the tips that I shared in this article might help with that.
So keep the props low key, and don’t use distracting props in terms of size and color. The props should visually support the photo and eyes of the viewer, nothing more.
It’s all about balancing the food props to get those eyeballs on the right location in the photo: the hero.
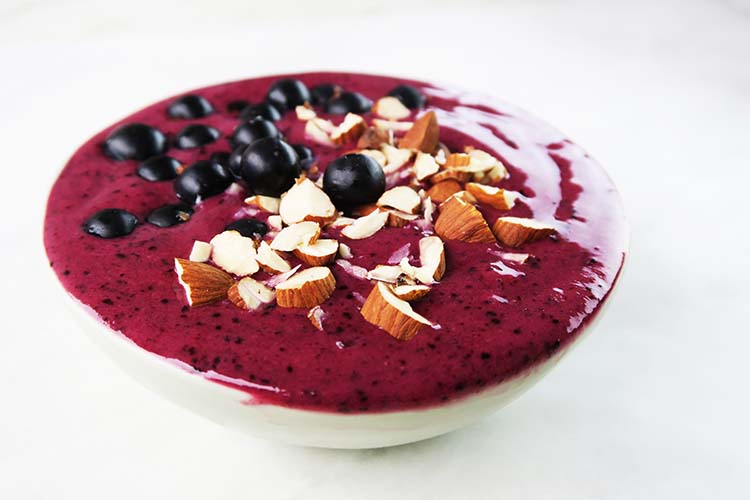
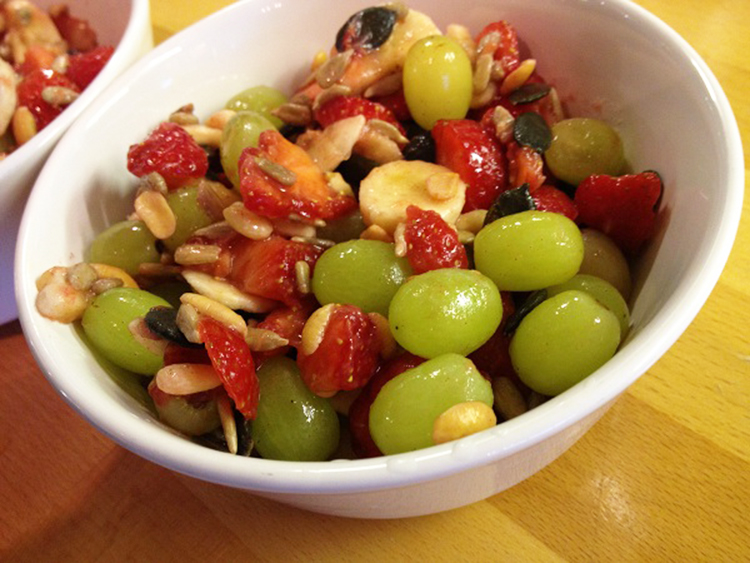
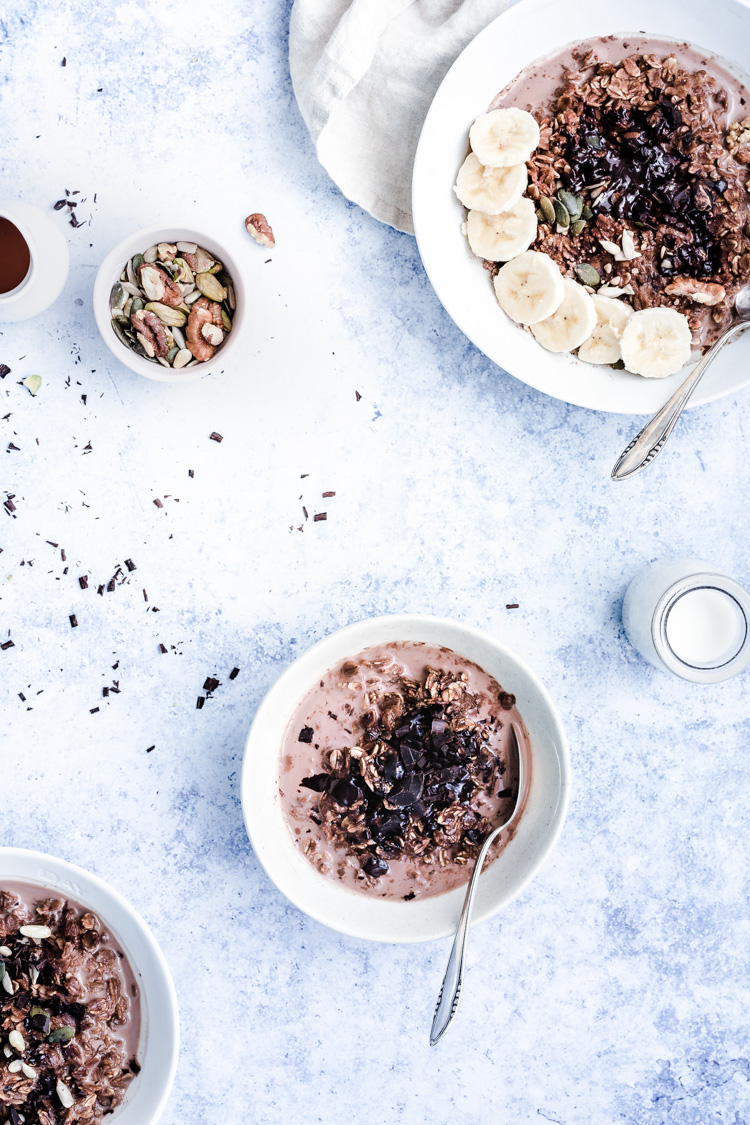 In the photo above with the chocolate oats, the bowl in the top right corner is too big and the hero is too small. This is distracting and the eyes of the viewer can’t rest anywhere.
2. vertical is the way to go
This food photography tip may or may not be an obvious one, but for years I have shot many of my photos horizontally. I remember when one of my photography teachers asked me why, I actually had no clue. I also didn’t realize that it was limiting me a lot in my styling. And also in general, for most setups and purposes it is not the best option.
I think the reason is that it feels more comfortable to look at a setup with a horizontal view. Although it feels a bit unnatural to work vertically, it’s the best way to make good food photos. It also gives a nice depth of field.
It is also a good way to have nice long photos for a blog. Also, in cookbooks most of the photos are shot vertically. If you are shooting commercially it will allow some room for text. For social media and sites like Pinterest, vertical photos are the better option too.
Of course, there is a place and time for horizontal photos too. So think about how your photo will be shared and used and make a decision what will work best.
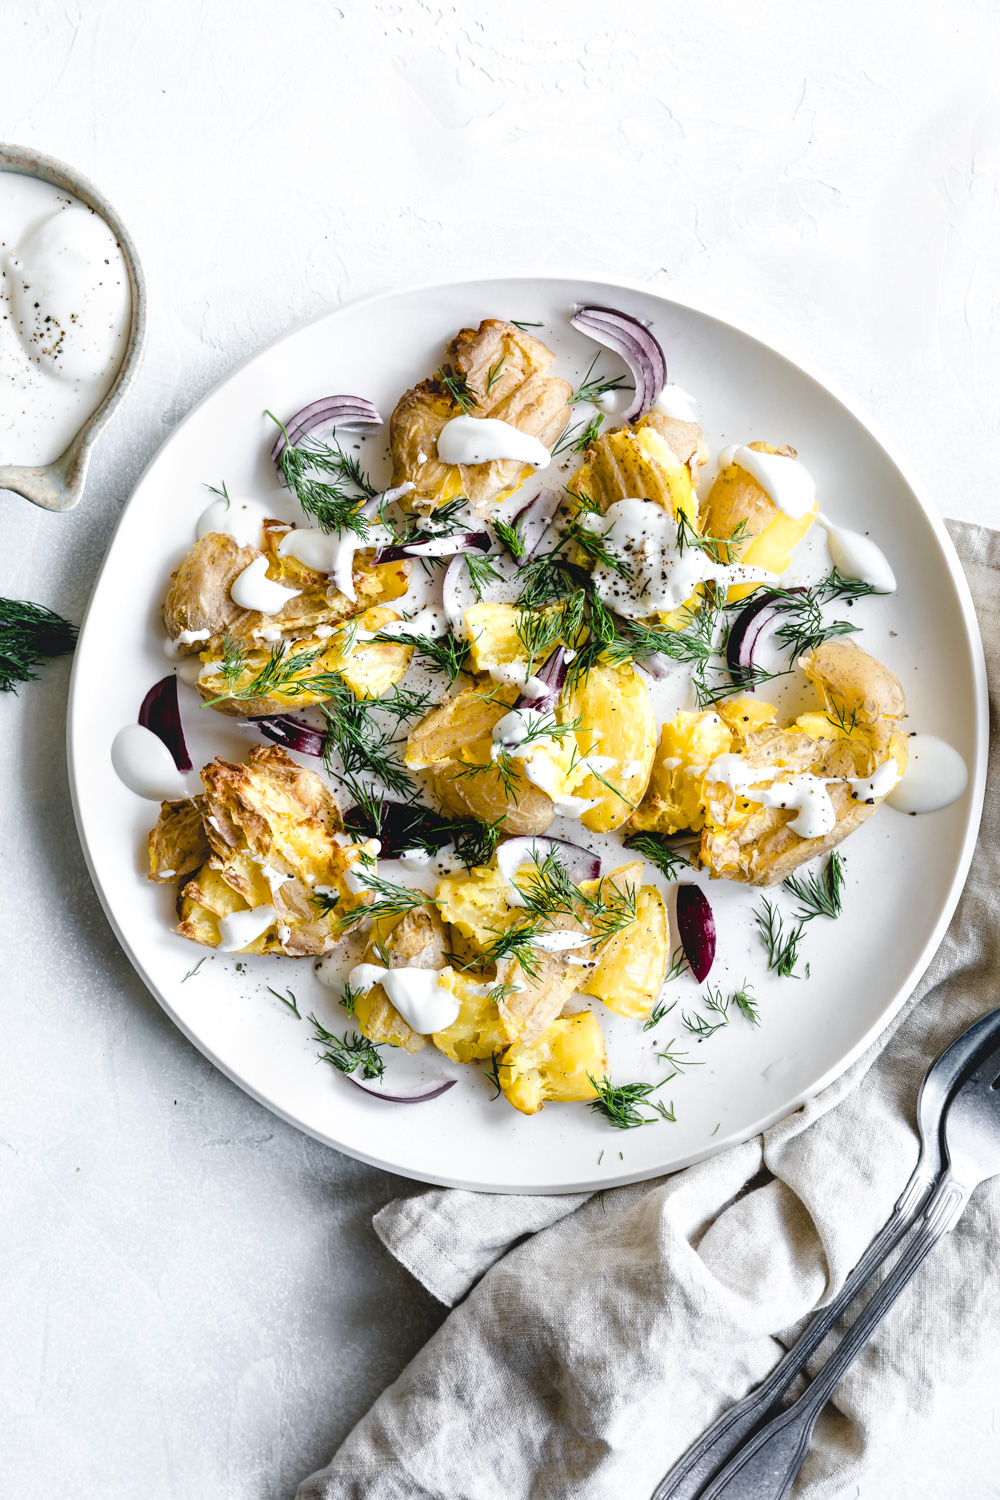
Here on The Green Creator I mainly share vertical photos, but also create sometime smaller horizontal photos as this will fit the recipe better, such as the below one. But even when I post a horizontal photo, it is a combination of two vertical ones. This allows me to share more photos without having to take up too much space. So why do I shoot a photo vertically if I’m going to share it horizontally? Simply because a vertical position gives me more room to style my setup and more depth of field.
3. shadows are sexy in food photography
When it comes to photography, I don’t like to think in terms of right or wrong. Photography is very subjective. But one thing that I consider a mistake in my photography, was not embracing shadows simply because I wanted to create a clean and minimalistic look. Shadows are sexy and make a photo so much more interesting. The moment I learned to put those white bounce boards down a bit more often, my photography changed for the better.
Also here it again depends on how the photo will be used. In the above, I am talking in particular about blog photography, where I use photos to tell a story and to give the recipe a visually appealing look.
There is a place for food photography without shadows. It is certainly not a wrong approach, but for blog photography, I have found that photos that look like they were made in a lightbox are less appealing to me and my readers.
4. style TO the camera is the best tip ever
This tip for food photography is super important and could really improve your photography a lot. When I started out making photos of food, it would look something like this. With a camera in my hand I would hop around the food. I took pictures of all possible angles and at all possible heights. The food did not change position. Instead, I just took another position. These days I work very differently. I set my camera on a tripod (90% of the time I shoot on a tripod). I choose the best angle with my tripod. Once my camera is set, I style the food so that it fits into the frame that I have set. In other words, I style TO the camera.
Try to experiment with picking an angle and style your food and props to fit the angle you have chosen. It makes a world of a difference. How you will place your camera and which angle you choose will affect the type of story you’re trying to tell. And think about that beforehand.
For example, if a dish looks great with back light it makes much more sense to place the camera with the light already in the back. It wouldn’t make sense to place the dish in any light and then walk around it with your camera and tripod. Set your camera, then style TO it.

5. light is everything, if you know how to control it
Light is everything. But what does that mean? It means you should practice a lot with the light that you have at your disposal (natural light in your studio or artificial light). Only then will you know how to use and control it.
I’m going to use light and bright photography as an example again since that is my style for The Green Creator. In order to achieve a light and bright image, there can be such a thing as using too much light that will blow out your photo. It can be hard to find a good balance to capture food in amazing light, that is bright but didn’t lose any details.
Light should often be diffused depending on which window you are shooting near and the distance between the window and your setup.
But also think about the surrounding area (including yourself). The colors on the wall, the furniture and your outfit. This can all have an effect on your photo.
When I shoot with natural light and notice that a specific area is bright (brighter than my main subject) I will block the light there since it can be too distracting. I use a black card to block the light. The size of the black card is important as a big black card will create an overall or bigger area of your photo to be darker and moodier. And a smaller black card, will only do so in a specific area.
I hope these food photography tips will help you. Remember, we are always learning and photography is subjective. That makes it so great! Do you have a great tip to share? Let me know in the comment section below. Or let’s connect on Facebook or Instagram!
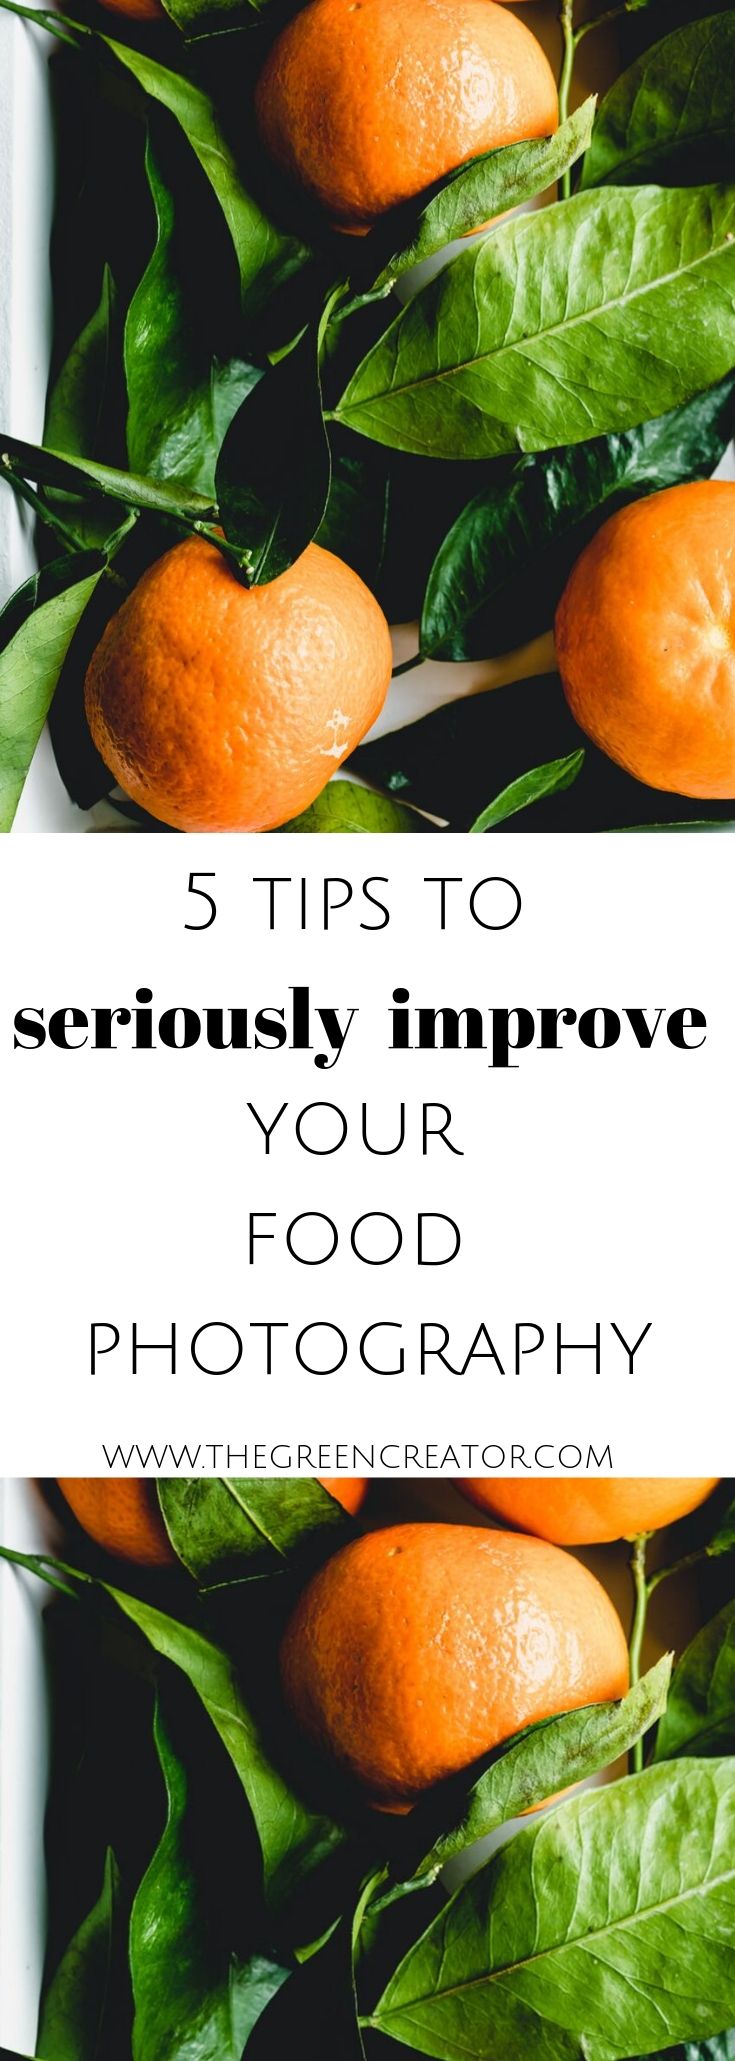
Want to save this article for later? Pin it to your Pinterest boards: